Simple DIY Pom-Pom + Addie's Hat
Pom-poms have become very popular in the craft world over the past couple years. They. Are. Everywhere! Atop hats, replacing flowers, in garlands, edges of blankets and pillow corners, rugs, and more. I briefly looked up DIY ways to make them but hastily decided it would just be easier and better to use the tool whose sole purpose in life was to produce perfect pom-poms. I braved Edmonton's indecisive winter weather and trekked to Michael's too many times in search of a pom-pom maker to finish a Christmas gift. Four fruitless Michael's trips later...enter a more thorough Pinterest search (duh!) and a happy Hannah (yay!). Thanks to that unfortunate situation, I found a super easy and free way to make pom-poms at home! My glamorous pom-pom-maker (and its anatomy), made out of plain ol' cardboard and scissors:

Mine is approximately 4 inches tall and 4¾ inches wide, with a window measuring 1⅞ x 1½ inches. The length of the pom-pom maker will roughly be the diameter of your pom-pom so to make a smaller or bigger pom-pom, decrease or increase the length of your pom-pom maker accordingly. The width doesn't really matter; it just has to be wide enough to support the amount of yarn you want without having to worry about the yarn slipping off either edge. As for the window, you want it to be large enough to slip your tails through, around the amount of yarn you want in the pom-pom. Making zero sense? Read on! Here are the simple steps of how I made my pom-pom:

1 Lay the tail of your yarn vertically, on top of the pom-pom maker.


| 2 | Holding the tail to the side, start wrapping the yarn around the length of the pom-pom maker. Be sure not to wrap it too tightly. |
| 3 | Once the desired thickness/density of pom-pom is reached, cut yarn; make sure to leave a longer tail of at least half of a foot long. |
| 4 | Note the length of the second tail (I cut mine to about a foot long, just in case). |
| 5 | Bring the second (longer) tail around to rest on top of the first (shorter) tail; they should be perpendicular to each other. |
| 6 | Fold the first tail over and around the second tail; in the photo, to the right side. |
| 7 | Bring the second tail down to the left, so that the two tails are creating a cross. Keep the point where the tails cross close to the middle of the body of the pom-pom. |
| 8 | While holding the point of the tails' crossing taut, push the body of the pom-pom to the side to expose the window. |
| 9 | Thread the second tail through the window so that it's on the backside (the pink side) of the pom-pom maker. |
| 10 | What it should look like from the back side. |
| 11 | Keeping the back side of the pom-pom maker facing you, push the body of the pom-pom to the side to expose the other side of the window. Bring the second tail around the body and thread it through the window space you've created. |

| 12 | What the backside should look like after threading the second tail through to the frontside. |
| 13 | What the front side should look like after threading the second tail through. |
| 14 | Keep the two tails at the midpoint of the pom-pom body and tie a tight double knot around it. I'm emphasizing the tightness of the knot because this is what will hold your pom-pom together so if it's loose, your pom-pom may be more prone to falling apart! |
| 15 | Take a pair of scissors and cut through the top fold, which is the point where the yarn bends over the top edge of the cardboard. |
| 16 | What the pom-pom looks like after cutting the top fold. |
| 17 | Cut the bottom fold as well. |

| 18 | Aerial view with both folds cut. Slide the pom-pom out through the window and make the finishing snips to round it out. |

One of the reasons I leaned towards buying a pom-pom maker at first was because I thought the trimming step at the end would get crazy messy, waste lots of yarn, and be frustrating. In my mind, it was going to play out like a bang trimming disaster where you continuously trim a few strands of the bangs shorter to match a strand that's a bit shorter than the rest but then you end up doing that one too many times until you accidentally look like this. But it wasn't nearly as disastrous or dramatic as I had imagined (massive pile of yarn bits and a small, misshapen or no pom-pom) and after six or so snips my pom-pom was relatively round!

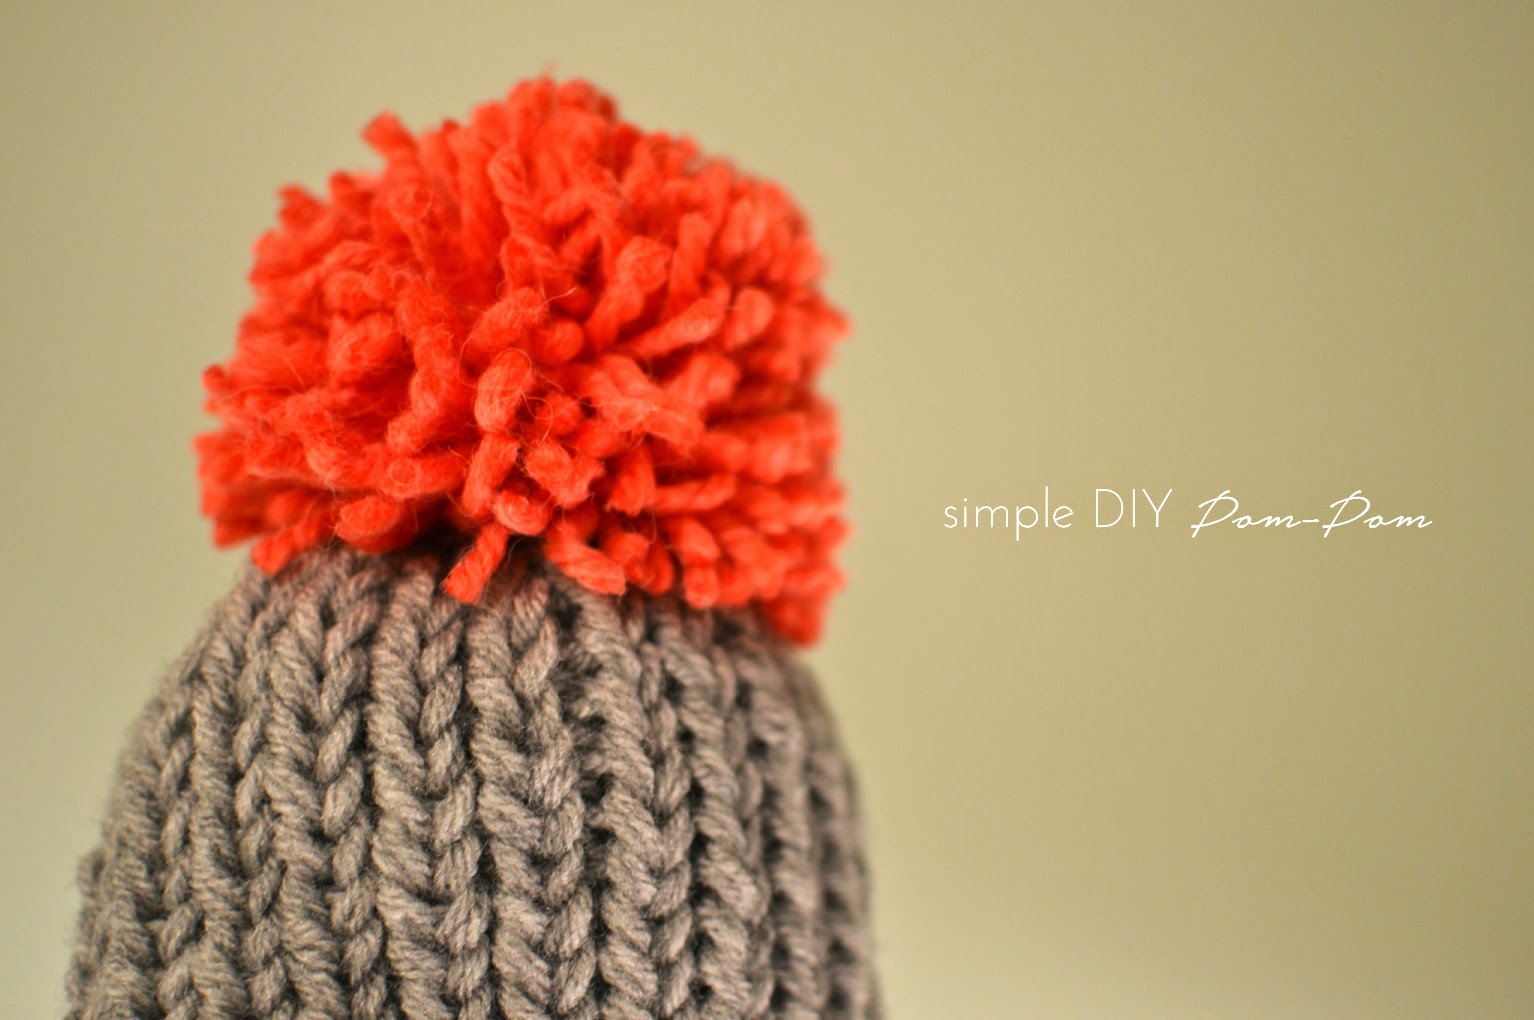
Now that I had finally made the pom-pom, I could add it to the Christmas gift I had planned to make it for: Addie's brioche stitch hat!

I can't get enough of the brioche stitch; it's classic, rich in texture and extra comfy because of how much stretch comes from the deep grooves of the rib. Which I thought would be perfect for a baby hat since babies grow so fast!

I used a set of 8mm circular needles that a generous friend picked up for me when she went to Hong Kong and the same gray yarn that I used to make Addie's Wattle Stitch Baby Sweater. I knitted the entire hat in brioche stitch with two strands of yarn. Instead of decreasing to shape the top of the hat, I decided to keep it simple and pull the tail through all the stitches and pulled them together to close once I reached the desired length of the hat.

Voila! Simple baby brioche hat with an easy-to-make, massive pom-pom to match this cute gray onesie I found! To see Addie modelling her hat, see here. Happy pom-pom making!


Comments
Post a Comment